I love silk. So much. I can put on a silk shirt and feel dressed up and yet feel so comfortable.
Also, a huge shout out to great establishments like Fancy Tiger Crafts and Elfriede’s who carry such lovely fabrics. The piece of silk used in this shirt was a lonely remnant in Elfriede’s always stunning remnant bin.
So this shirt is a heavily modified version of a silk shell bought on Amazon. I drafted the pattern and radically changed the construction as to eliminate facings completely with the possible exception of the bias finished neckline. Is that a facing, really? I suppose it would be much more facing-like if it was completely turned to the inside. In the implementation here, I did it more like a quilt binding…
Overview:
1. Cut out shirt
2. Sew shoulder seams (French seams are great here!)
3. “Hem” the sides of the shirt
4. Hem the bottom of the shirt
5. Sew side seams
6. Make bias tape
7. Finish neckline with bias tape
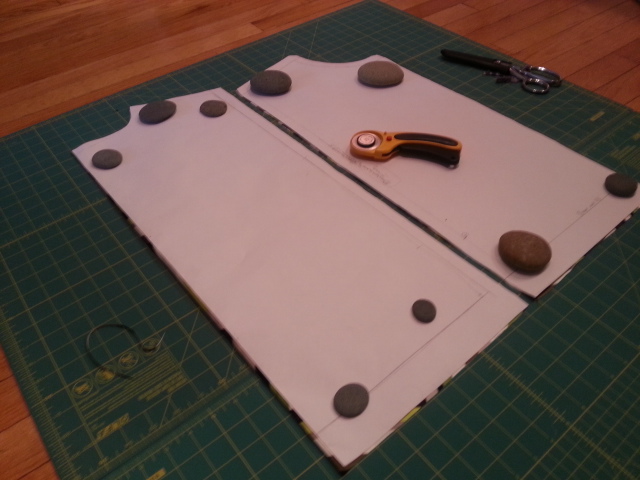
The pattern is basically a rectangle, with sloped shoulders and a slight scoop out of the back and slightly deeper scoop in the front. I much prefer cutting all things on a cutting mat with rotary cutters, especially silk. Note the beach rock pattern weights, decorational and functional.
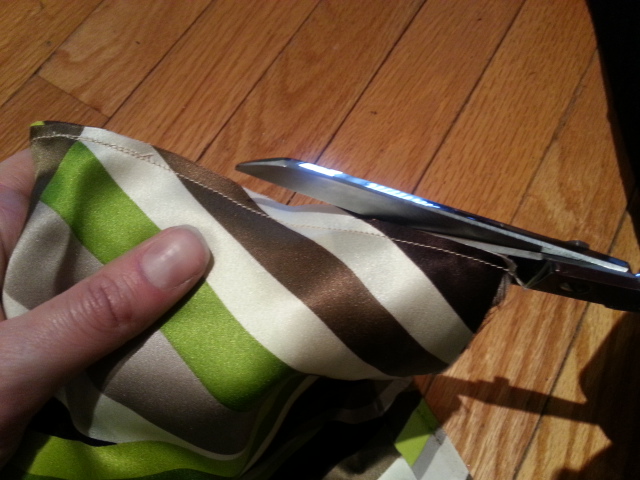
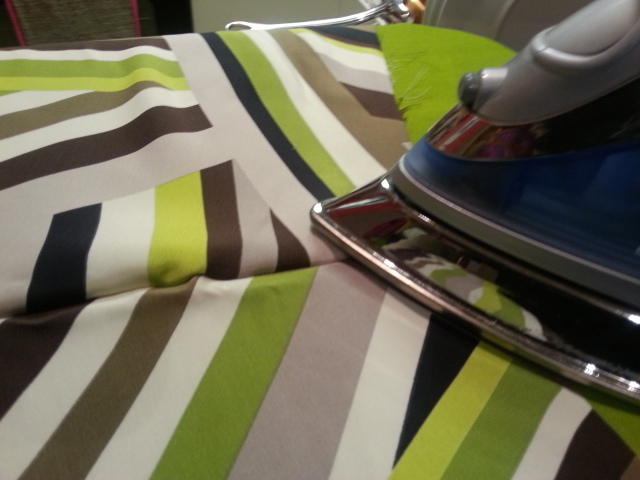
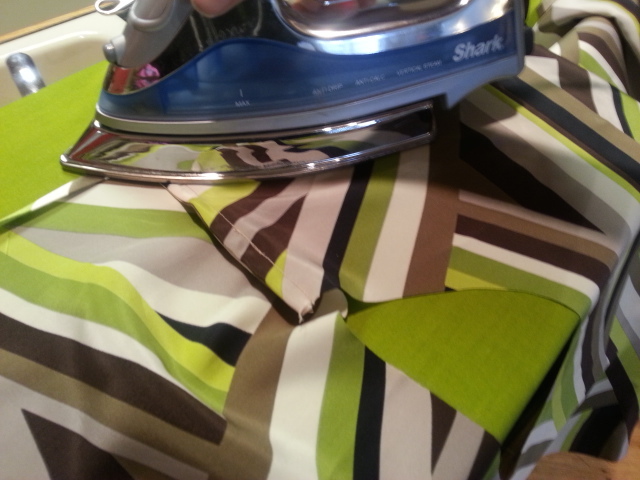
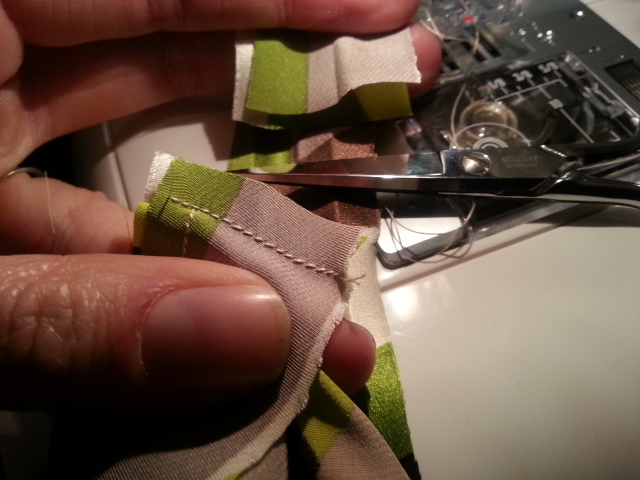
Next we will sew our shoulder seams using French seams. We will put wrong sides together, sew a 3/8 seam, trim, iron flat, and then flip right sides together and sew the shoulder seam again. This traps the seam allowance inside the second seam, finishing the seam.
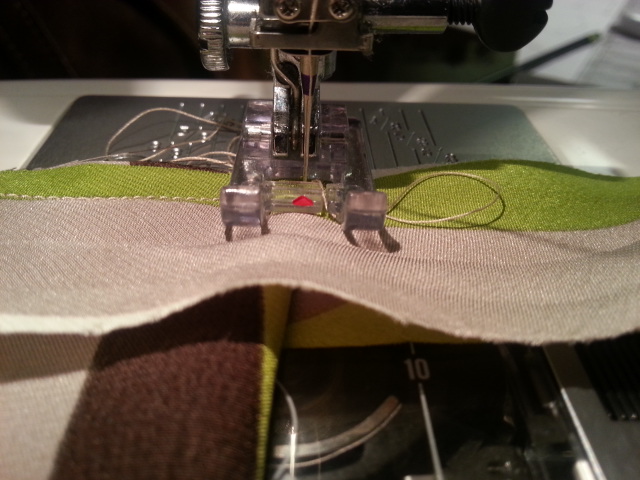
This next step is a little weird. We will be putting a “hem” on the sides of the shirt from the bottom front up to the shoulder seam all the way back down to the bottom of the back. Because this shirt has straight sides and no sleeves, this will finish the slit opening at the bottom of the shirt, the side seams of the shirt, and the armhole openings. After you do these two hems, hem the front and back of the shirt. If you open your shirt out and lay it flat, all 4 sides will have narrow hems.
Next we will sew the side seams. I tried on my shirt at this point to pin exactly where I wanted the armhole openings to start and where the side slit is going to start. From the bottom to the top, sew your side seam. Start inside your hem near the stitching of the hem, back out angling toward the edge and bottom of the shirt, and then forward toward the armhole following your hem stitching. At your mark near the armhole, angle out towards the edge again and back up. You are so close to having a shirt!
To finish the neckline, first we need to make bias tape. Bias just means that you are not cutting along the threads of the woven piece, but sort of diagonally to those threads. “True Bias” means that it is cut perfectly at 45% to the threads… and gives you a hint that in a pinch, you can cheat a bit and cut not-so-true-bias. Piecing bias tape is also totally acceptable, especially with contrast fabric. Ok, back to making bias tape.
Measure the total circumference of your neckline… this is the minimal length of bias tape you will need. Cut a right triangle off your fabric. This allows you to make cuts “on the bias”. Our bias tape needs to be 1 3/8" wide and about 30" long. Fold in half and iron, then fold the edges in on itself to the middle, fold in half and press again. Feel free to gently stretch the bias tape as you iron. There will be 4 layers of fabric from this process, 3 folds.
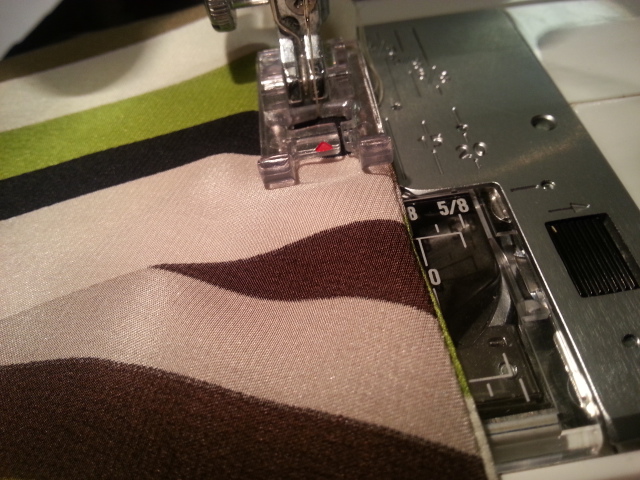
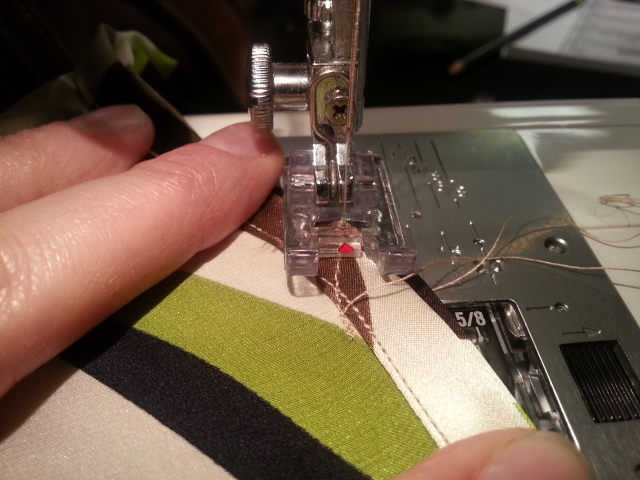
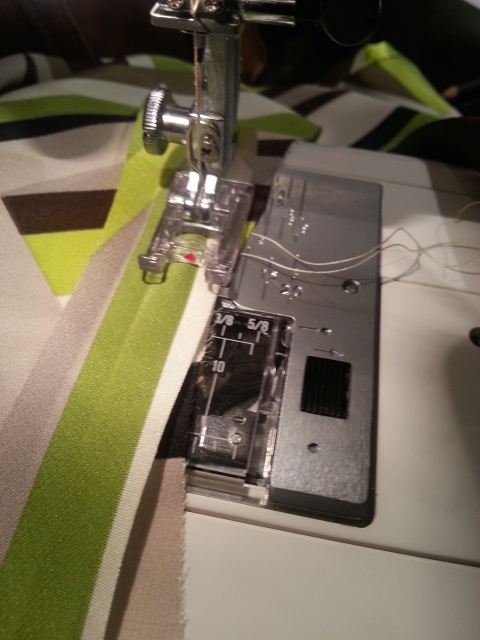
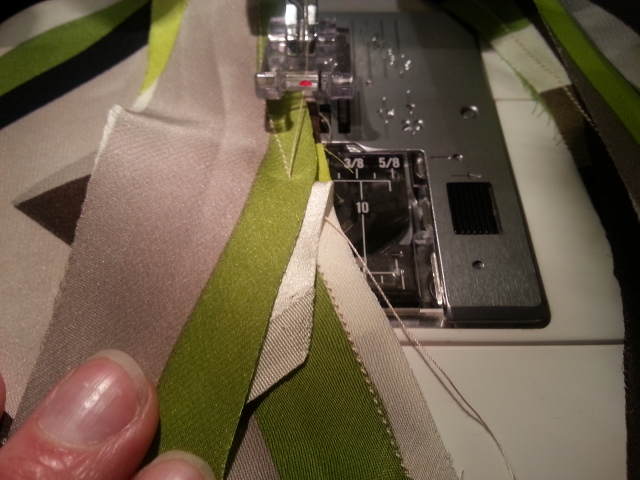
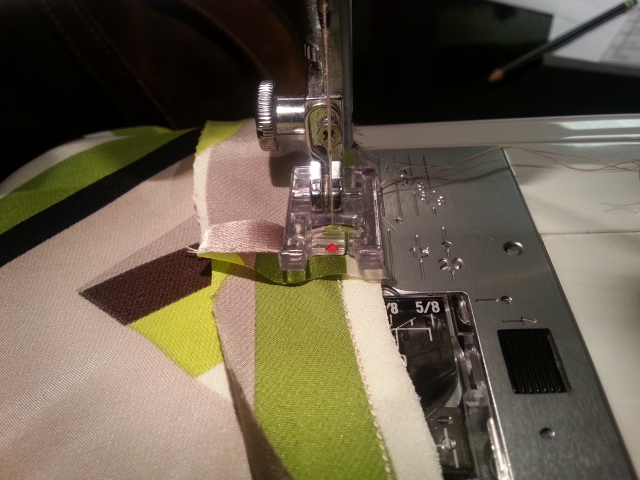
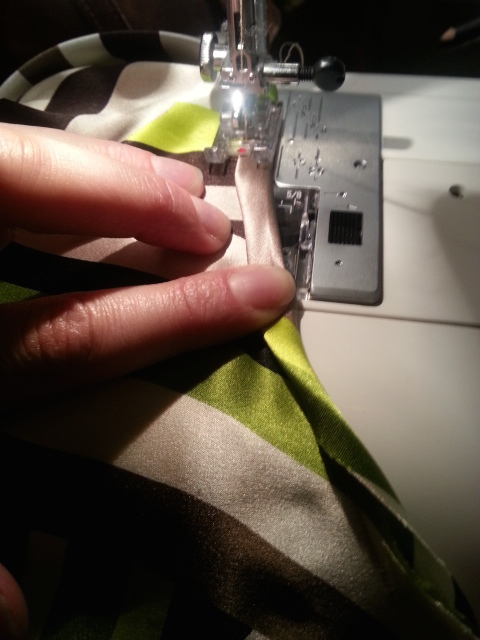
Starting at the center back and leaving about 3 inches of bias tape “upstream” of your starting stitches, begin to attach the inside first fold of the bias tape to the inside of the shirt. Match the seam allowance of the bias tape to the seam allowance of the shirt… Just match up the edges of the bias tape and shirt and use that fold as a guide for sewing. Sew all the way around the neckline taking extra care on the shoulder seams. When you come back around close to the center back where you started, fold that extra beginning 3 inches perpendicular and out of the way and stitch as close as you can to those first stitches. Cut your thread, pull your shirt out and fold along that center back. Stitch the bias binding together as close as you can to the back of the shirt without sewing through the back of the shirt. Trim that seam, iron the seam open and stitch it down overlapping stitches from previous bias attachment (below).
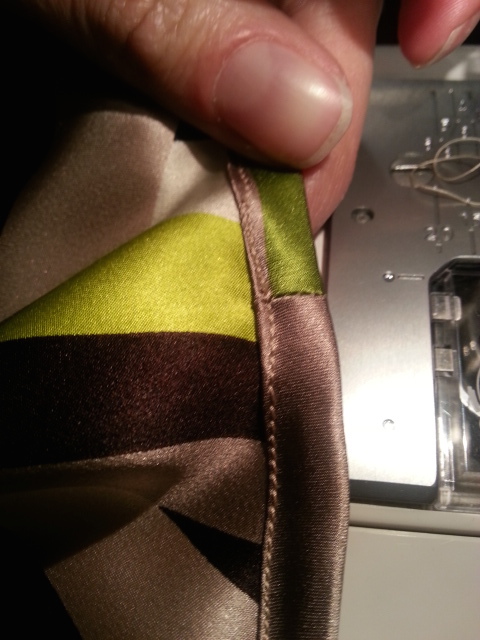
Now we are going to flip that bias tape to the right side and stitch through the very edge of that first fold. This is a very important visual seam, so if you take time on any seam, this is the one. Remember to go slow over those shoulder seams so the bulk of the french seams don’t toss you all over the place.
I’m super excited to make like 20 more!
